1. Home Page
  2. Notification
  3. Enable Notifications

Enable Notifications

You can allow the Mobile Client to receive and push notifications of the events detected by a device, services, exceptions, etc. If you want to block notifications during specific time, you can set a notification schedule to define the time period(s) during which the Mobile Client is allowed to receive event information and push them to you. You can also set notification mode to avoid the disturbance of push notifications (and the audio and strobe light alarm) while still being able to receive information on the Notifications page.

Make sure you have configured event settings on device (except for the video intercom device). See the user manual of the device for details.

Note
  • For Android, make sure your phone supports Google Play service, or notifications may fail to be pushed to you.

  • For iOS, when Critical Alerts is enabled, you will get notifications on critical alerts even if your device is muted or in Do Not Disturb mode. You can enable Critical Alerts for the Mobile Client in Settings > Notifications of iOS.

    Note

    Critical Alerts requires iOS 12 or later.

  • The Mobile Client will ignore alarm events triggered out of the time period defined by the notification schedule.

  • The security control panel does not support setting notification schedule.

  • For specific thermal device, you can also set custom voice prompt for the detected events, such as fire detection.

  1. On the device list page, tap > Settings to enter the Settings page of the device.
  2. Tap Notifications to enter the Notification page.
  3. Turn on Notifications to allow the Mobile Client receive and push notifications of events detected by device all the time.
  4. Select a notification mode.
    • For normal devices, select one of the following two modes.

      Receive Events and Push Notifications

      The Mobile Client will receive event information from the device and push related notifications in real time. In other words, you can not only get notified by the push notifications, but also view all the received event information in Notification page.

      Receive Events but NOT Push Notifications

      The Mobile Client will receive event information in real time from the device but NOT push related notifications. In other words, although you will NOT be disturbed by the event-related push notifications, you can view all the received event information in the Notification page.

    • For audible strobe light, select one of the following two modes.

      Receive events and push notifications, and allow Audio and Strobe Light alarms on device

      The Mobile Client will receive event information from the device, and push related notifications in real time. And the audio and strobe light alarm is allowed to be triggered on the device once an event is detected. In other words, you can not only get notified by the push notifications and the audio and strobe light alarms, but also view all the received event information in the Notification page.

      Receive events but NOT push notifications, and NOT allow Audio and Strobe Light alarms on device

      The Mobile Client will receive event information from the device in real time, but NOT push related notification. And the audio and strobe light alarm is NOT allowed to be triggered on the device once an event is detected. In other words, although you will NOT be disturbed by the event-related push notifications and the audio and strobe light alarms, you can view all the received event information in the Notification page.

  5. Optional: Enable notification schedule to set a time schedule for receiving event information from the device and push related notifications (if allowed in the previous step).
    1. Tap Notification Schedule.
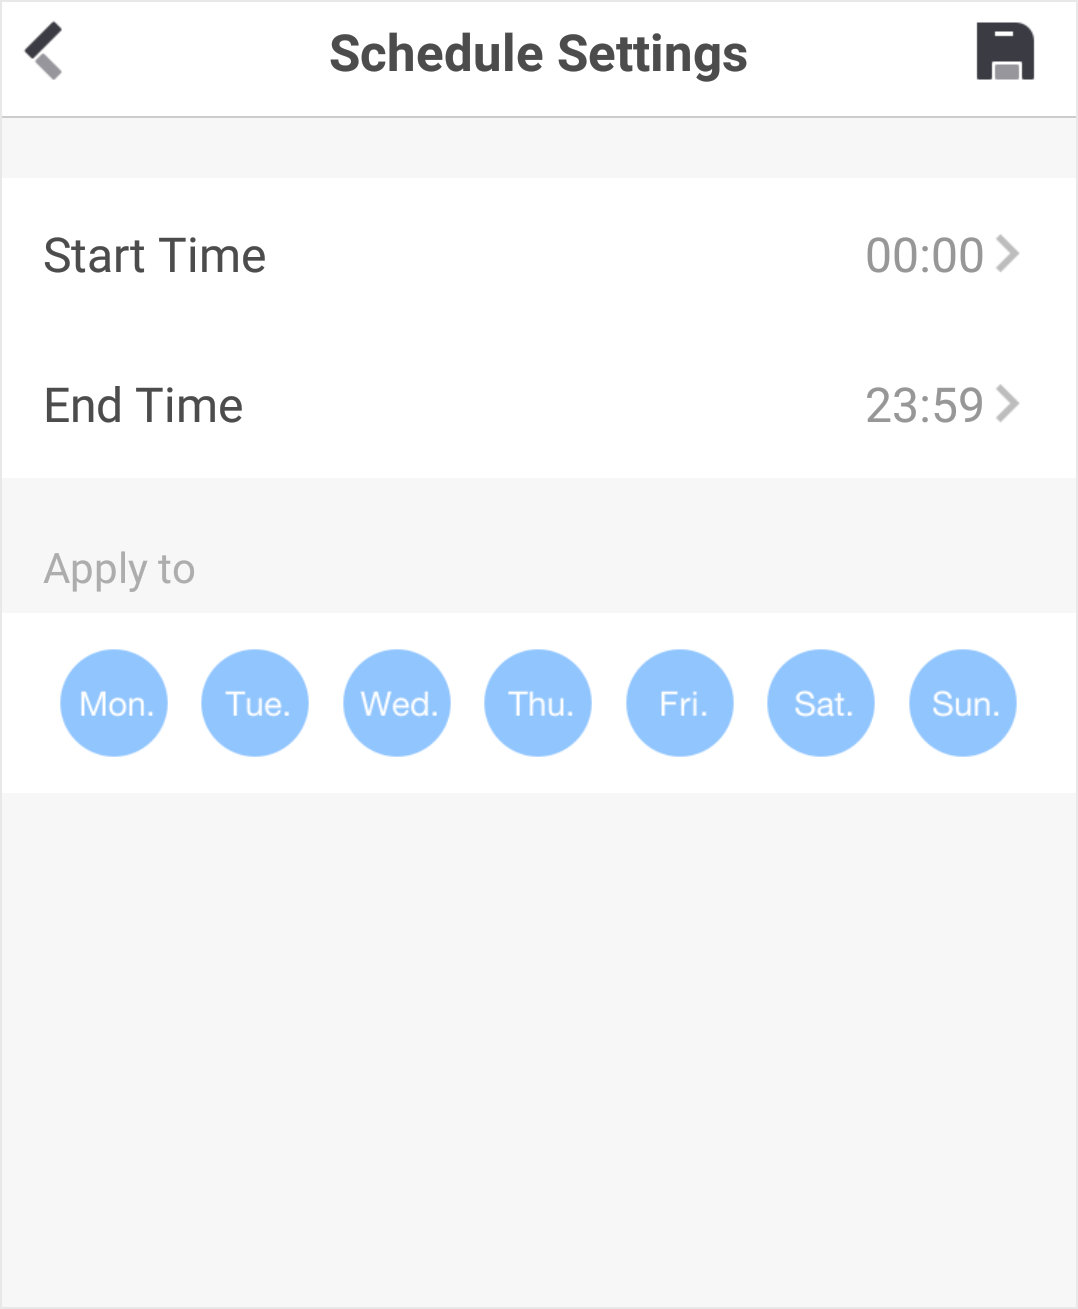
    2. Tap Set a Time Schedule to enter the Schedule Settings page.
      Figure 1 Schedule Settings Page
    3. Set the start time and the end time.
    4. Select the date(s) to which the configured time period applies to.
      Note

      The date(s) marked in blue is selected.

    5. Tap .
    6. Optional: Tap the configured schedule to enter the Schedule Settings page, and then edit the start time, end time, and the date(s) to which the configured time period applies to. Or tap Delete to delete the schedule.
    7. Go back to the Notification page.
  6. Optional: Tap Notification Sound Mode and then select one of the following sound mode and tap to set a notification sound mode for the detected intrusion.
    Note

    The function should be supported by the device.

    Intensive

    Intense warning for the intrusion.

    Soft

    Soft warning for the intrusion.

    Mute

    No audible warning.